Unlock the Power of Xembly AI: A Complete Recipe for Success
Xembly AI is a powerful tool that can revolutionize the way you work. But like any powerful tool, understanding its features and how to best utilize them is crucial for success. This article will serve as your complete recipe, guiding you step-by-step on how to harness the full potential of Xembly AI.
Understanding the Ingredients: Key Features of Xembly AI
Before we dive into the recipe, let's identify the key ingredients:
-
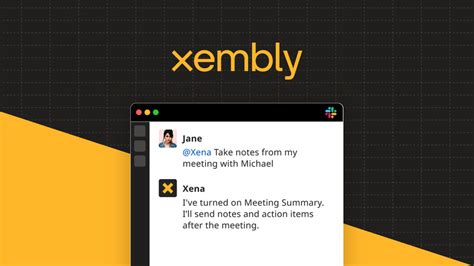
AI-Powered Meeting Transcription: Xembly accurately transcribes your meetings, saving you time and eliminating the need for manual note-taking. This transcription is much more than just words on a page; it often includes speaker identification and timestamps, making it easy to review specific points.
-
Action Item Management: Beyond transcription, Xembly intelligently identifies action items, assigning them to the appropriate individuals and setting deadlines. This ensures accountability and helps keep projects moving forward.
-
Collaboration & Sharing: Xembly facilitates seamless collaboration by allowing you to easily share meeting minutes with team members. This promotes transparency and ensures everyone is on the same page.
-
Integration with Other Tools: Xembly's compatibility with popular tools like Slack, Google Calendar, and Zoom enhances workflow efficiency. It fits seamlessly into your existing tech stack.
-
Customizability: Configure Xembly to match your specific needs. Adjust settings for notification preferences, action item categorization, and more.
The Recipe: Mastering Xembly AI for Optimal Results
Now let's get cooking! Here's a step-by-step guide to using Xembly AI effectively:
Step 1: Preparation – Setting up your Account and Preferences
-
Account Creation: Sign up for a Xembly AI account. This is usually a straightforward process, often involving email registration and a brief setup guide.
-
Connecting Your Tools: Link Xembly to your preferred calendar and meeting platforms (Zoom, Google Meet, etc.). This allows for automatic transcriptions.
-
Personalization: Tailor your settings to your team's workflow and communication styles. Define action item categories and notification preferences to maximize productivity.
Step 2: The Core Process – Recording and Transcribing Your Meetings
-
Starting the Transcription: Initiate the transcription process either manually or via automatic integration with your meeting platform.
-
Reviewing the Transcript: Once the meeting concludes, review the generated transcript for accuracy. Xembly boasts high accuracy, but manual review ensures any minor errors are corrected.
-
Action Item Assignment: Utilize Xembly's features to efficiently assign action items, deadlines, and responsibilities to team members.
Step 3: Post-Meeting – Utilizing Action Items and Collaboration Features
-
Action Item Tracking: Monitor the progress of assigned action items. Xembly provides tools to track completion and manage follow-ups.
-
Sharing & Collaboration: Distribute the meeting minutes and action items to all relevant participants for transparency and efficient follow-up.
-
Regular Review: Regularly review Xembly's performance and adjust settings as needed to optimize your workflow.
Seasoning with Best Practices
-
Clear Meeting Agendas: Start with a structured meeting agenda to improve the clarity and organization of the transcription.
-
Active Participation: Encourage active participation from all attendees to create a comprehensive and detailed record.
-
Regular Maintenance: Periodically review and update your settings to ensure optimal performance and to adapt to evolving team needs.
By following this recipe and incorporating these best practices, you’ll be able to unlock the true power of Xembly AI, boosting your productivity and streamlining your workflow. Remember, consistent use and refinement are key to maximizing your results. Happy meeting-ing!